I Declare

jefferson-drafts-declaration-hero-A.jpeg
IMG_1635.JPG

Our second Friday with Friends class correlated with Cycle 3 week 4, the Declaration of Independence.  The student's first task was to put a timeline of events in order.  Each group was given a large piece of paper, markers, and this resource from teachers pay teachers.

Since we were beginning with the timeline activity I wrote the answers on the board and they simply had to put their own timelines in order and write the dates on them.  I wanted this to be an activity the students could complete as everyone was arriving.  

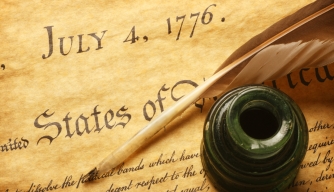
After completing the timelines we took turns reading through the full Declaration of Independence.  We did not discuss what the whole document meant.  I gave brief explanations throughout the reading.  I felt like it was good for the kids to read and hear the full Declaration.

I was planning to have the kids work on this scavenger hunt, but after reading the entire Declaration I decided to send the scavenger hunt home with them instead.  I also had spy activities for us to do and I wanted to make sure we had enough time for those.  

The other part of this Friday with Friends was to study the Culper Spy Ring.  We began by reading a Culper Spy Ring theater script together.   You can find that here.

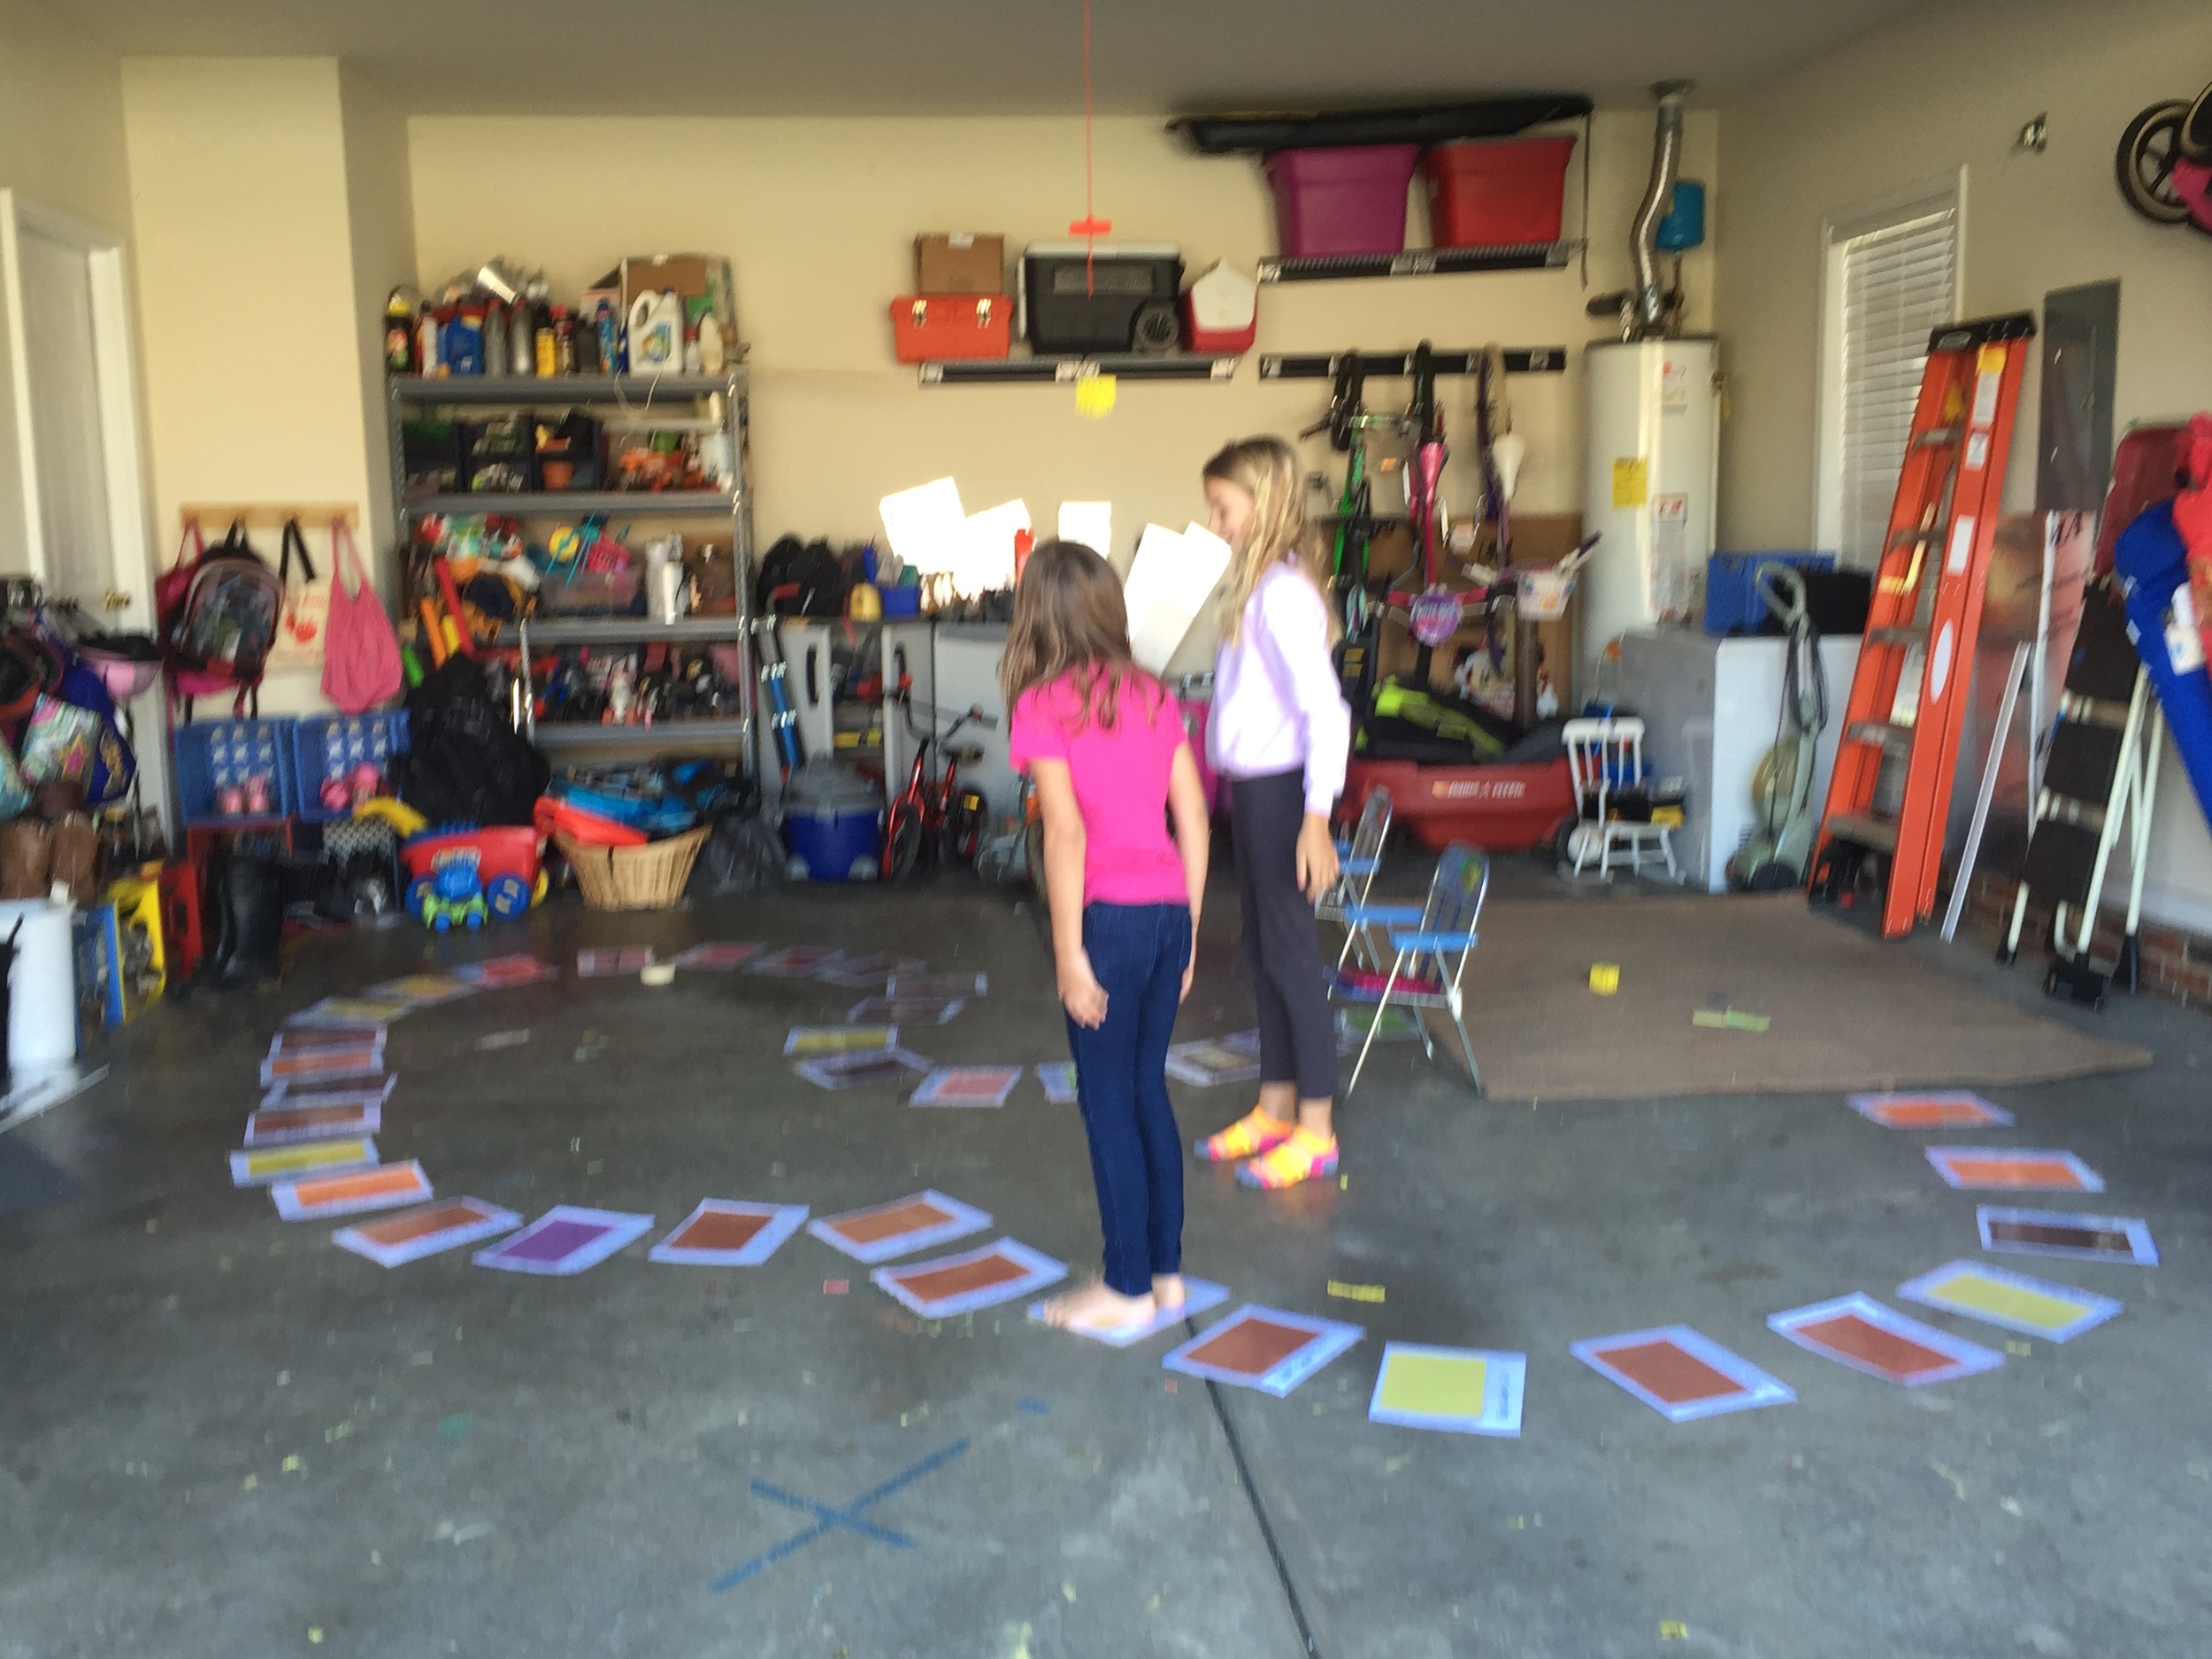
Following that I split the students into two groups.  One group was colonists in New Jersey.  I told them they were having to quarter a British soldier in their house.  They were able to overhear where the British were holding some of the "Rebel" soldiers captive.  Using the Culper spy code book they had to write a note and get it to the "Rebel" soldiers in Massachusetts.  The other group was the Colonial Army.  They had a spy undercover in New Jersey.  Using the Culper spy code book they had to write a note to the Colonists in New Jersey to tell them who their spy was.  

Before the class began one student from each group (New Jersey Colonists and the Colonial Army in Massachusetts) hid a doll.  These dolls where what they needed to get the other group to find.  

Here is a link to the Culper Code Book.

Other Teachers Pay Teachers resources I liked for this study included Revolutionary War Spy Code Activities, Comparing the Declaration of Independence and The Declaration of the Rights of Man, and America Booklet coloring for younger kids.  

The Great American Postcard Exchange

While enjoying a few school days at the beach late in the Summer I came across an opportunity for our family to join a postcard exchange with other Classical Conversations homeschool families in the United States.  Our home state was already spoken for, but we were aloud to adopt another state.  Out of the handful of adoptable states left my children chose Connecticut.  We decided that we should learn more about our adopted state before sending postcards, so this became our first Friday with Friends class for the school year.

Younger siblings are welcome to attend the class.  Another parents helps lead their activities and supervise playtime. 

Younger siblings are welcome to attend the class.  Another parents helps lead their activities and supervise playtime. 

I always write out the schedule for the afternoon on a large white board.  This helps keep me on schedule, allows the kids to begin working immediately when they arrive, and helps anyone who may get to the class late to jump in on the next activity.  We typically begin with an activity the kids can do in pairs or small groups together.  

For our study on Connecticut they the children began finding facts about the state posted around the house as soon as they arrived.  I found the facts pre-made on teachers pay teachers.  All I had to do was print and laminate them.  (I probably didn't have to laminate them, but I love my laminator!)

IMG_1266.JPG

After finding facts we came together as a group to discuss our favorite facts about the state, what the postcard exchange was, and what we would write on our postcards.  We also completed a longitude and latitude activity together which created a dot to dot of Connecticut.

Finally, the time had come to write postcards.  Each child chose a favorite fact about Connecticut and copied it onto 3-5 postcards.  A lot of the kids were also very excited to choose where they wanted to send their postcard, and address it. 

IMG_1602.JPG

While the older kids wrote and addressed the post cards their younger siblings put stamps on them.  The younger kids also helped organize the postcards we had received, and colored the states we had received postcards from on a map. 

IMG_1601.JPG

We are enjoying receiving postcards from all across the United States.  While Connecticut is not our home state, we now have a greater understading and appreciation of our adopted state.

Exploring Europe

This Friday with Friends will cover geography from Classical Conversation's cycle 2 weeks 1-7.

This post has the lesson plan and resources that I will use with the Journeyman and Masters level students (outside of community day) so you can use these resources too.   I will add another post after we complete the study so you can see how our event turned out. 

We will begin our study by reviewing cycle 2 geography, weeks 1-7.  I may cut out a large map of Europe from painters paper so we can do this as a big floor game.  I love the huge rolls of painters paper.  They work great for table coverings the kids can color on and any kind of large drawing project.  


Next we will find European cities by latitude and longitude.  You can get free map printable's for this activity here:  http://geoalliance.asu.edu/maps/regions

I am planning to use the premade European latitude and longatude cards from here: https://www.teacherspayteachers.com/Product/44-European-City-Latitude-Longitude-Task-Cards-1329551

However, I'm sure it wouldn't be too hard to create your own cards for free too.

Our last project for the class is to make our own edible physical maps of Europe.

To begin we will discuss a little bit about the different types of maps, and what makes the maps we are going to make physical maps.

Here are some tips that will hopefully make making edible maps easier if you plan to do this with a group. 

Prepare the cookie dough and icing before everyone arrives.  Have the dough divided and ready for each child or family to begin.  I also plan to ask each family to bring their own cookie sheet and rolling pin.  That way they can bake, decorate, and transport the large cookie back hope easier.  

It's fun to have green and blue icing, as well as toppings such as Hershey Kisses that look like mountains.  

Trace the map of Europe from your CC trivium table onto freezer paper.  Have each family roll our their cookie dough, place the freezer paper map on top and cut around it.  Remove the freezer paper map and bake the cookie.  Everyone can't bake at once so plan accordingly for the number of people you have involved.  

This family baked the cookie then cut the map.  I have tried both ways and both will work. 

This family baked the cookie then cut the map.  I have tried both ways and both will work. 

Reliving the Renaissance

This Friday with Friends study correlates with Classical Conversations Cycle 2 Week 6 History.  

This post has the lesson plan and resources that I will use with the Journeyman and Masters level students (outside of community day) so you can use these resources too.   I will add another post after we complete the study so you can see how our event turned out. 

We will start with a Renaissance quest to find information.  I will use this Renaissance quest packet from Teachers Pay Teachers.  https://www.teacherspayteachers.com/Product/Renaissance-Webquest-An-Art-Exploration-Da-Vinci-Michelangelo-1368431                                                                                                         The student's will gather information by using QR code scanners on phones.

We will discuss Shakespeare by reviewing his life in a comic strip and playing a Shakespearean insult memory game.

https://www.teacherspayteachers.com/Product/An-Introduction-to-Shakespeare-Shakespeare-Comics-1929671

https://www.teacherspayteachers.com/Product/Shakespearean-Insults-Activity-Cards-Vocabulary-With-Definitions-2019878

     Last we will Discuss Leonardo da Vinci's ideas for flying machines, and create our own out of straws, chop sticks, and coffee filters.  

Here are two resources to help you present information about da Vinci's inventions.  The first is from Teachers Pay Teachers, the second is a free website.

https://www.teacherspayteachers.com/Product/Art-Lesson-for-Kids-Paper-Flying-Machines-Inspired-by-Leonardo-da-Vinci-430457

http://edsitement.neh.gov/lesson-plan/leonardo-da-vinci-creative-genius#sect-activities         

Food Chain, Consumers, and Biomes OH MY!

These activities go along with Classical Conversations Cycle 2 Science weeks 1, 2, 3, and 5.

This post has the lesson plan and resources that I will use with the Journeyman and Masters level students (outside of community day) so you can use these resources too.   I will add another post after we complete the study so you can see how our event turned out. 

We will begin with a biome study.  I am going to use the Biome Fact Pack from Teachers Pay Teachers.  When the students arrive they will get a survival journal.  The biome facts will be all over the room for them to find.  They will need to gather as much information as they can for their survival journals.  Their journals will also contain a biome map for them to color code.

https://www.teacherspayteachers.com/Product/BIOMES-Fact-Pack-Informational-Text-Reading-Passages-Writing-Posters-Flip-Book-1271361  

http://www.andrill.org/education/Activities%20PDFs/1%20Energy/1B/1B_EntireActivity.pdf

After they everyone has gotten information added to their survival journals we will do a biome survival activity.  The students will need to use the information they gathered in their journals to help them survive.

http://lasp.colorado.edu/home/wp-content/uploads/2012/09/Biome-Survival-Activity-SHORT_Moser.pdf

We will finish the study with a fun survival of the fittest consumers game.  You can get this game on Teachers Pay Teachers as well.

https://www.teacherspayteachers.com/Product/Types-of-Consumer-Activity-Entire-Lesson-2468724

Here is a link to a fun online consumer game

http://www.sheppardsoftware.com/content/animals/kidscorner/games/foodchaingame.htm

These resources from Teachers Pay Teachers are only $1 and great for younger students.

https://www.teacherspayteachers.com/Product/Food-Chains-What-Comes-Next-111882

https://www.teacherspayteachers.com/Product/Carnivore-Omnivore-Herbivore-Animal-Picture-Sort-1057407

Feudalism Friday

Our first Friday with Friends study for Cycle 2 this year will be Feudalism.  This topic goes along with week 2 History, William the Conqueror.

This post has the lesson plan and resources that I will use with the Journeyman and Masters level students (outside of community day) so you can use these resources too.   I will add another post after we complete the study so you can see how our event turned out. 

We will start our study by reading about Feudalism to make sure all of the students know what it is, and what each persons title in a feudal society meant.  https://www.teachervision.com/tv/printables/goodyear/MiddleAges_2-9_key.pdf

After discussing feudalism we will create a feudal pyramid together on a large white board. 

Next each child will receive a roll identification card using this resource:   http://www.classroomzoom.com/lessons/dl/?id=386&asPdf=1&fgid=

Once each student know's what part of the feudal system they belong to, I hope we can have them all dress the part too!  After that we will play the feudal M&M's games that is part of the above resource.  

This resource for a classroom set up looks good too.  I might incorporate some ideas from this one as well.  It would be fun for the Master's class to do on community day!  file:///C:/Users/Charlie/Documents/Amys%20Printing/Cycle%202%20Friday%20with%20Friends/Feudal%20Classroom.pdf

This video is not overly entertaining.  However, if you want to do the feudalism M&M simulation and you don't want to read about it via the link above this might be a helpful resource.  

The video below is fun to watch.  It also might spark some good discussion about timeline, when historical events happened, and if they really happened exactly how this video portrays them or not.

Music and the Olympics (Music/Movement Lesson for Preschool and Elementary School)

Aly Raisman's floor routine was choreographed to the the Russian Sailors Dance by Reinhold Gliere.  I love using this piece of music to move to and explore musical contrasts with when I'm teaching music.  The songs theme keeps coming back and is easy to identify, but the style changes.  In preschool music classes (and even upper elementary) we have fun identifying the musical contrasts, and discussing and acting out ways to move based on what the music sounds like.  

Moving to music with your children will help them develop a good sense of rhythm.  Model how to put the beat in your feet.  Mirror your child's movement ideas as well.

If you missed it, enjoy watching gymnast Aly Raisman's floor routine here.  

Here is a way to move to to Russian Sailors Dance in your music class:

Beginning - 0:19  Wiggle, warm up

0:19-0:56 - Half note, large steps, like a monster, sneaky

0:57-1:14 - Legato, smooth, skating, ballet

1:15-1:29- Staccato, quarter notes, light, fairies, happy

1:30-1:40 Marcato, accented, quarter notes, powerful, excited

1:41-1:57 Half notes, powerful, marcato

1:58-2:13 Eighth notes, staccato, sneaky, light

2:15-2:23 sixteenth notes, Allegro, excited, speedy 

2:24-end choose what beat to feel, half note, quarter note, eighth note, there's a lot going on now.  I like to end with a lot of wiggling, similar to how we began.

If you have older students you can have them identify the instruments being played and more musical terms associated with each part of the music.  Make sure you ask kids of any age what they think the music sounds like.  Don't just give them all of your answers and be done.  Kids come up with some awesome ideas.


Resources to Learn the Benefits of Upside Down Drawing

If your child is learning in a Classical Conversations community, one of the tasks they will have during art is to draw upside down.  This may seem like just another fun way to experience drawing, however, it actually is working the other side of your brain!

In her book, "Drawing on the Right Side of the Brain," Betty Edwards teaches you how to draw through lessons that will use both sides of your brain.  You can check out an excerpt of the book on Amazon by clicking the link below, or at https://oldmountainart.com/drawing-on-the-right-side-of-the-brain-part-1-upside-down-drawing/

Watching videos of painters using this technique is also fascinating.

Continents and Oceans - Classical Conversations Cycle 2 Week 1

http://www.cool2bkids.com/world-map-coloring-pages/

http://www.cool2bkids.com/world-map-coloring-pages/

If you have a student in the Classical Conversations Foundations program this Fall they will memorize all of the continents and oceans the first week of class.  A few great resources to help your children learn the continents and oceans are the free coloring pages you can access with the link above and this fun song by Kathy Troxel that you can get with the link below!  Listen to the song and sing it while coloring your map of the world.  

If you have older kids you the coloring and singing may be just a fun jumping off point for a larger discussion.  Why is the Pacific ocean on the map twice?  Compare and contrast the flat map you colored with a globe.  Where would the major lines of latitude go if you were to add them to the coloring page map?  Why do we use latitude and longitude lines?  Then have your older students practice drawing their own map of the world and label it.  Or use poster board or inexpensive cloth to draw a large map of the world to jump on or throw beanbags on!

Strive for Success - Science (Classical Conversations Cycle 1)

We were so busy during this class that I didn't get a chance to take any pictures.  However, I do have links where I got a lot of the fun activities we did.  All of the strive for success events were to help prepare the kids who wanted to try for Memory Masters.  It was a fun way to review a lot of information together.

For the science day I set up a bunch of stations the kids could choose from around the house, and outside.  

In the garage there was a station to classify animals.  I bought a packet on Teachers Pay Teachers of animal cards to be classified and sorted.  It also included a lap book activity the kids enjoyed. 

Click the picture to see more about the product.

Click the picture to see more about the product.

On the kitchen window I made the ocean floor out of brown painters paper.  I taped blue paper behind it to look like the ocean.  I made cards with the types of ocean floor and names of the ocean zones on them so the kids could label everything.  Each of the cards had a piece of Velcro on it so it could be attached to the other side of Velcro on the painters paper. 

In the dining room there were a bunch of activities to choose from.  

Parts of a flower lap book

Click the picture for more information.

Click the picture for more information.

Five kingdoms of living things hand print.

Click the picture for more information.

Click the picture for more information.

Plant vs. Animal cell comparison lab book.

Click on the picture for more information.

Click on the picture for more information.

Outside I laid out some picnic blankets and cloud finders so the kids could lay down, look at the clouds, and identify what types of clouds they could see.

Click the picture for more information.

Click the picture for more information.

We kept the cloud finders in the car for a few weeks after we made them!

To help learn about clouds I also laminated some pages with more information about what they look like and where they are located.  I laminated the pages then taped tracing paper on top of them so the kids could trace the types of clouds.

Strive for Success - Math (Classical Conversations)

We had several fun games we played to review math with our friends.  We set up a giant board game in the garage.  The game tiles are actually the back of the cards we used for the Presidents day activity.  One side had presidents and the other had a piece of construction paper on it.  I one question from each week on the pieces with a wet erase marker.  

To play the kids rolled the large dice, moved the number of places shown on the dice, then had to answer the math question on the square they landed on to move on.   If they couldn't answer the question they lost a turn.  We added a few fun pieces too (move ahead two, move back two, trade places.)

We also did a liquid equivalent relay race!  I filled a kiddie pool with water and put it between each team. Each team had a teaspoon, tablespoon, ounce glass, one cup measuring cup, pint jar, quart jar, and gallon jar.  They had to know how many times they needed to fill the next biggest jar, and fill it the correct number of times to get the next item.  For example, 3 teaspoons equal one tablespoon so they had to run down three times to fill the tablespoon.  Once the tablespoon was full they could take it back and begin filling the ounce glass, and so on.  It was a lot to think through quickly, but they did great!  We went through the whole thing once before beginning the relay race so everyone understood the rules.  

Strive for Success - Latin and English Classical Conversations Cycle 1

Our first Strive for Success event was a focus on Latin and English.  All week in our house we recited, wrote, and reviewed our Latin noun declensions and English prepositions, helping and linking verbs to prepare.  

Prior to the event I purchased a preposition packet on Teachers Pay Teachers that had all of our activities in it.  You can find it here.

From the TPT packet we used the booklet about Rocky Raccoon, 12 pictures of rocky, and the page to write 12 sentences with prepositions on.

Before everyone arrived my kids hid the 12 pictures of Rocky around the house.  I put the sentence writing paper, the booklet, and a bag with 8 Rocky raccoon stickers on a clipboard for each student.  

As everyone arrived they got their clipboard and pencil.  They completed the sticker books first.  Next they went on a hunt for all of the hiding raccoon's.  When they found one they wrote a sentence that included a preposition about where Rocky was.

Rocky Raccoon is on the door.

Rocky Raccoon is on the door.

Rocky raccoon is moving toward the wall.

Rocky raccoon is moving toward the wall.

  After completing the sentence writing activity students who were ready to test their knowledge of cycle 1 English and Latin sat down with a tutor and told them what they know.  They got a sticker for their Strive for Success book for working hard on their memory work.  (See previous post for more information).

Our last activity was to act out our prepositions.  I set up a variety of things in the front yard (tent, table, something to hide behind, picnic mat) and as I called out a preposition the kids had to act it out.  

Strive for Success Geography Classical Conversations Cycle 1

We focused on geography this week.  For a lot of families geography can be one of the trickiest subjects to conquer.  I think it is trickier to memorize, not because it's difficult, but because it is more time consuming to work on geography than other subjects.  

To work on conquering cycle 1 geography we did a mixed media art project.  I created a stencil of Europe and Africa for the kids to use.  They traced the outline of the continents, colored them, then added some fun mixed media to add details to their maps.

Materials you need:

Cycle 1 trivium table, tracing paper, poster board, good strength drawing paper, crayons, markers, colored pencils, shaving cream, school glue, food coloring, sand, glitter, brown sugar, puff paint, any other fun mixed media materials.

Set up:

Before everyone arrived I traced the black line map on my trivium table on tracing paper, I cut the tracing paper map out, then put it on poster board and traced the map on the poster board twice.  One poster board map became a stencil the kids used.  The other became a blank map to be used in a geography pictionary game.  For pictionary you could also trace the map with wet erase markers onto a white board, then let the kids play pictionary with dry erase markers. 

I covered my tables with brown painters paper.  It's very inexpensive on Amazon.

I put the thick drawing paper, crayons, markers, pencils, and colored pencils out on the tables covered with painters paper.  

While the kids are busy tracing and coloring their maps mix the shaving cream with school glue and food coloring.  We used blue food coloring since this was going to be used for oceans. 

After coloring their maps, the kids used puff paint for the rivers, and the shaving cream mixture for the oceans.

I put the brown sugar and gold glitter, along with some more school glue, at a table outside.  These materials were for adding dimension to the Sahara and Arabian Deserts.  Having this outside was a great idea!  My garage is sparkly!  

The finished products were a great.


There were a lot of CC tutors available at the event, so they each took turns quizzing the students where were ready on their cycle 1 geography after they finished their art work.  Any child who took the time to sit down with a tutor and go through their geography got a sticker in their Strive for Success book (see previous post).

For the pictionary game use the map that is laminated, but doesn't have any markings on it.  Divide the families/students into two teams.  Team one chooses a drawer.  The drawer picks a card, and has to draw that place on the map.  The team mates must guess the place they are drawing to get a point.  Then the other team goes.  The team with the most points at the end of the game wins.  We will use this as a review game in class too!

Strive for Success (Equipping Families To Conquer CC Memory Masters)

The Friday with Friends series of activities has been a fun way to expand on the CC memory work each week with my Journeyman/Masters class this year.  As we approach our final six weeks of CC, I decided that I wanted to do something to help equip the families I get to teach in CC to conquer Memory Masters.  Some of the other tutors and I came up with a series of events that would help everyone give a big, fun last push toward memory masters.  (A memory master is a CC student who can recite all 24 weeks of all 7 subjects from memory at the end of the year).  

To help parents, and students, track their success I made a Strive for Success booklet for each child.  The booklet is a memory master check sheet.  A tutor checks off what the student knows, and what they need to work on before trying MM.  The student gets a sticker for their book for each subject they take the time to sit down and answer.  Each Friday a different subject is focused on and we do activities that correlate with the subject the students are focusing on.

Check out the Strive for Success events and use them with your community too!

President's Day Trivia

In preparation for Presidents Day we are singing all of our presidents in order and challenging our friends to do the same!  If you are preparing for Memory Masters for CC it's a great time to jump start memorizing.

We are also going to learn some fun facts about our Presidents.  I found the facts we will use already compiled on Teachers Pay Teachers.  https://www.teacherspayteachers.com/Product/Presidents-Day-1706945

I put the facts all around the house.  The kids had to go around and write down notes about the facts to help them remember them.  

After reciting all of the presidents and gathering fun facts we played a game I created on Kahoot.it based on the fun facts.  Kahoot is a fun website that allows you to set up an interactive game.  Each players uses a phone, ipad, or computer as a controller to enter and answer questions in the game.  The faster you answer, and the more you answer correctly, the higher your score.  Kahoot also give you an assessment of how the players did at the end if you use it for assessment.

Here's the link to the Presidents Challenge Kahoot game.  Click the link to start the game.  Go to Kahoot.it on another device and use it as your controller for the game.  

https://play.kahoot.it/#/k/e7453587-2572-4343-bf2c-698b14788fab


Building Each Continents Tallest Mountain Classical Conversations Cycle 1

We are going to study each continents tallest mountain with egg cartons this week.  The supply list is simple.  You just need to save up lots of egg cartons and have some good paper handy.

Begin by building your mountains.  Each student will need 28 egg carton pieces (7+6+5+4+3+2+1).  Your tallest mountain will be 7 pieces tall, second tallest 6 pieces tall, and so on.  Next put all of the mountains in order by elevation.

Now you are ready to draw your map.  This is a great time to practice you cartography skill.  Begin by drawing your major lines of latitude and longitude.  You need these to help put all of the continents in the correct place.  

Finish by putting each mountain on the correct continent.  

You could cover your mountains in masking tape, or clay, and then paint them as well.

Here is a video to watch to help put the height of these mountains in perspective.  This is the tallest building in the world.  If you look at the first picture on the post you can see it barely sticking up on the bottom right.

Geology.com

Geology.com has a great interactive map.  You can zoom in on each of the mountains.  It also has wonderful pictures and information about each mountain.

Rock Candy Cycle

To explore types of rock we started with review the memory work and an explanation of the rock cycle.  Then we did an experiment with starburst candy.  You can get a science journal sheet to explain the experiments on Teachers Pay Teachers.

After the starburst experiment we read the book How to Dig A Hole to the Other Side of the World.  This book is a fun way to talk about the parts of the earth.

After reading the book we made our own parts of the earth with an Oreo representing the crust and the mantle, chocolate syrup representing the liquid iron outer core, and the m&m representing the solid iron inner core.  The Oreo model can be found here.

Then we enjoyed eating all of our treats!


Journey Through Japan Classical Conversations Cycle 1

While studying Japan we did a journey through Japan event.  I used this activity guide from Teachers Pay Teachers for part of the activities.  I also found several Japanese folk tales from the library.  We read a folk tale, looked at the geography of Japan, and items we use that come from Japan.  We also made Japanese fans out of coffee filters and Popsicle sticks.

I was fortunate to learn some traditional Japanese dances from a Hawaiian music teacher.  We learned two Japanese dances.  One was called Tanko Bushi (the coal miners song), and the other was a dance from the Japanese Bon festival.  We practiced the dances first.  Then each child took a large white t-shirt and decorated it so it looked like a kimono.  After they decorated their kimonos I gave them fabric to wrap around the middle as a sash.  Once we were dressed and ready we performed our dances in our outfits!

For a snack we ate rice crispy/Swedish fish sushi, marshmallows, and banana slices with chopsticks. 

Mystery Music Event Classical Conversations

Before Halloween we had a mystery music event.  We were in our music theory study in Foundations and this event was a continuation of what we were learning in music.  We began by discussing melody and scales.  The kids played boomwhackers to play with the major scale and some modes.  Then we played Joy to the World and Happy Birthday on boomwhackers.

After our study of melody we studied rhythm.  The kids played a monster rhythm game.  I had puff balls with different sized eyeballs on them.  A whole note monster was 4 puff balls hot glued together with one big eyeball on the first one.  A half note was two puff balls hot glued together with one medium sized eyeball on the first one.  A quarter note monster has one medium sized eyeball on one puff ball.  Two eighth notes, tiny eyes, go one one puff ball to create an eighth note monster.  I made a dice with a different note value on each side.  Each child had a sheet with two blank measures in different time signatures on it.  I would roll the dice and they had to fit the correct monster into the correct time signature.  The first one to fill all of their measures won!

We also played rhythm bingo.  


Can You Stop the Fall of Rome?

I found a wonderful simulation for the kids to go through on Teachers Pay Teachers called Can You Stop the Fall of Rome?  It was $7 well spent!

Before we began the simulation we sang through the timeline song, stopping on any card that had to do with Rome.  You can find all of the timeline cards that talk about Rome in the back of your CC guide.  Page 199 has a list of which timeline cards go with each history sentence.  

Next we talked about what the role of a Roman Emperor would have been.  Then we began the project.  Each child received and Emperor card and a treasury card.  The Emperor card gives them a brief outline about who they are, and the treasury card tells them how much money they have to work with.  They also each received a worksheet to keep up with their treasury.  ll of the cards and worksheets needed are included in the packet on TPT.  I printed them all out and laminated them. 

The simulation is a powerpoint.  It worked better for me to have it printed out and in a binder.  I read a question, the kids picked how they would handle the issue as emperor, then they found out how much money they gained or lost.  I was impressed with how well the kids did, and how much thought they put into the activity!

We ended by playing some games Roman Children would have played.  Swords and Jacks were among the games.

There are also some fun online games, and paper doll activities about Rome.